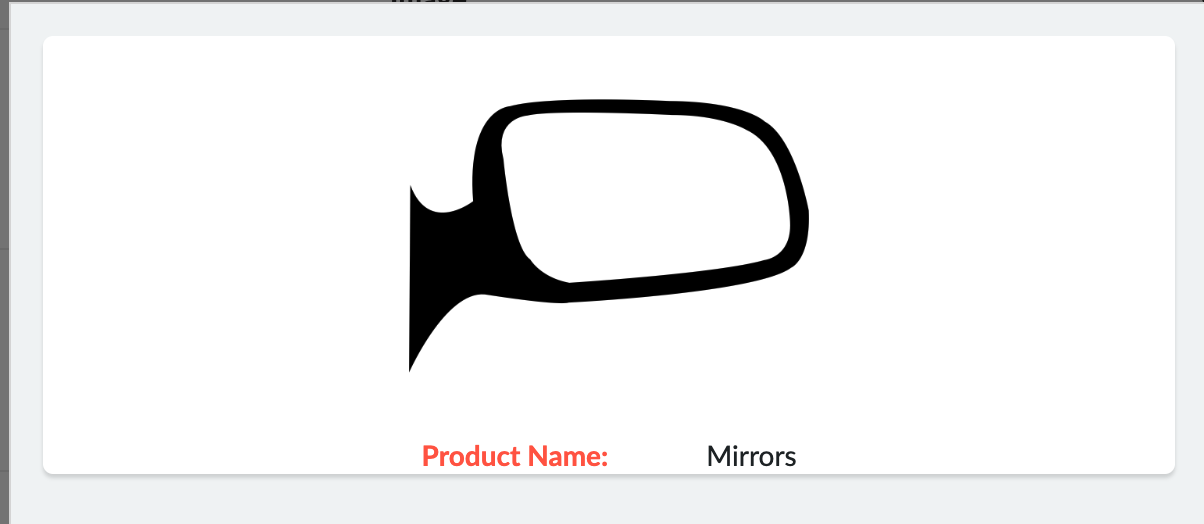
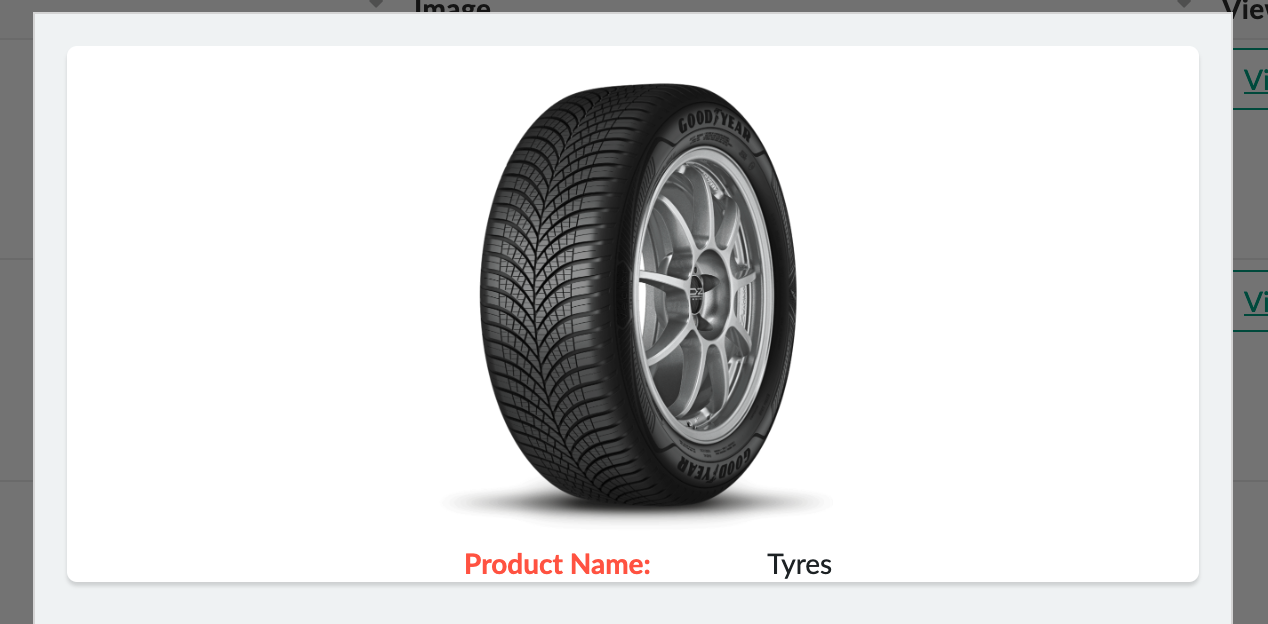
we will look at how to display an image in a page using HTML snippet that is already uploaded using another Zoho Creator form.


Now, let's see how to dynamically display images in the HTML Page.
Create a custom button in the report.
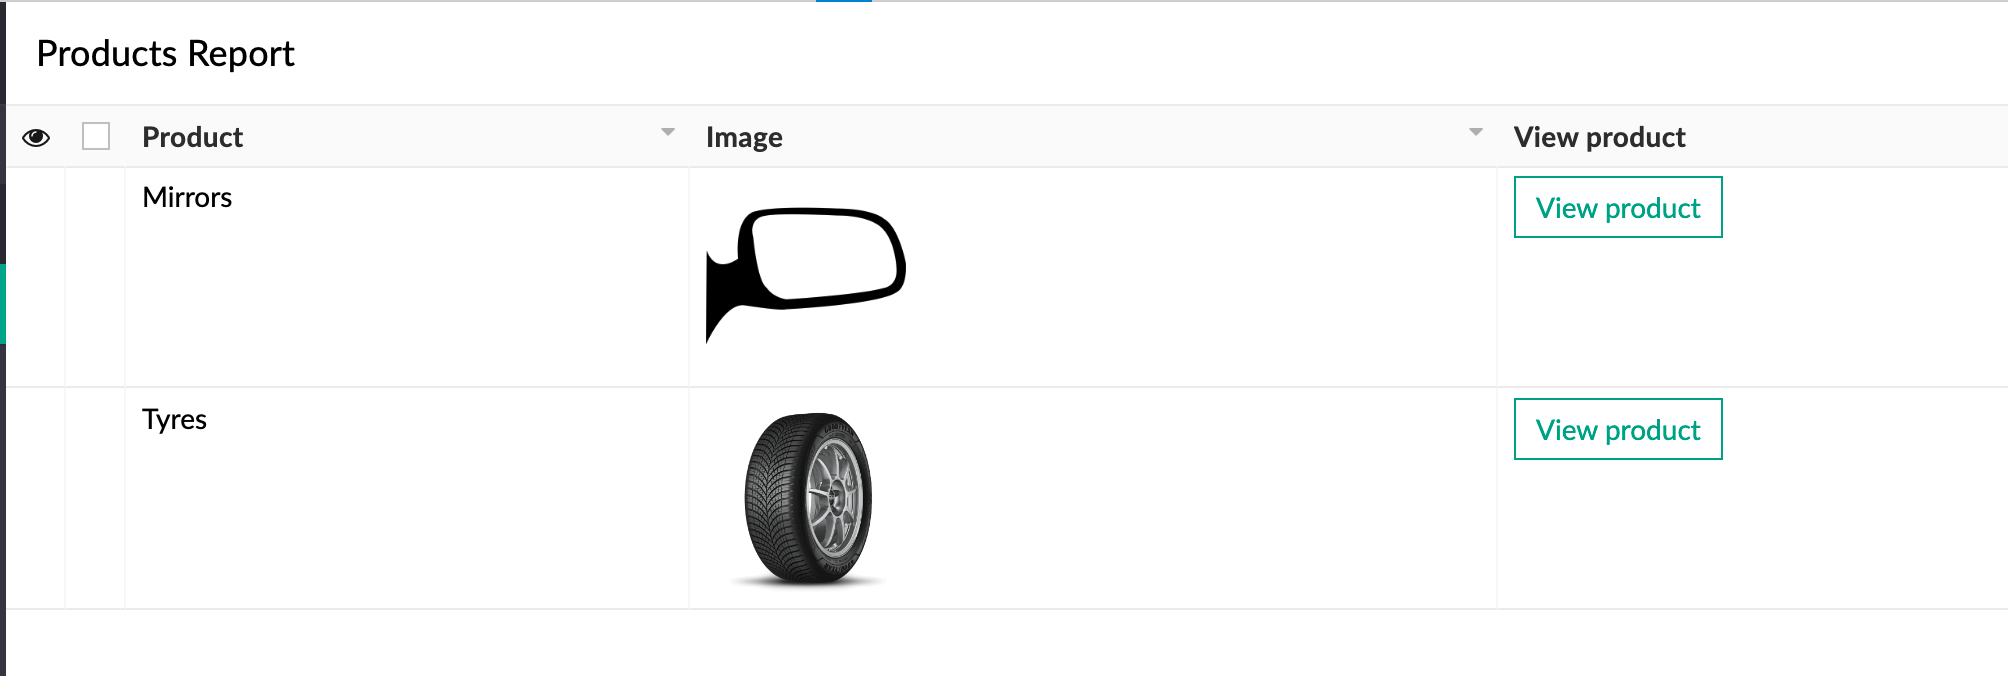
Add deluge openurl task to the custom button action (report workflow). Please note that we are passing the record id as an argument to the parameter name product_id in the url, which can be accessed in the html page.
openUrl("#page:Product_Details?product_id="+input.ID,"popup window");Create a Page, add HTML snippet to the page. Add the parameter to page in order to access the argument passed in the url. In this case the argument passed is (record ID).
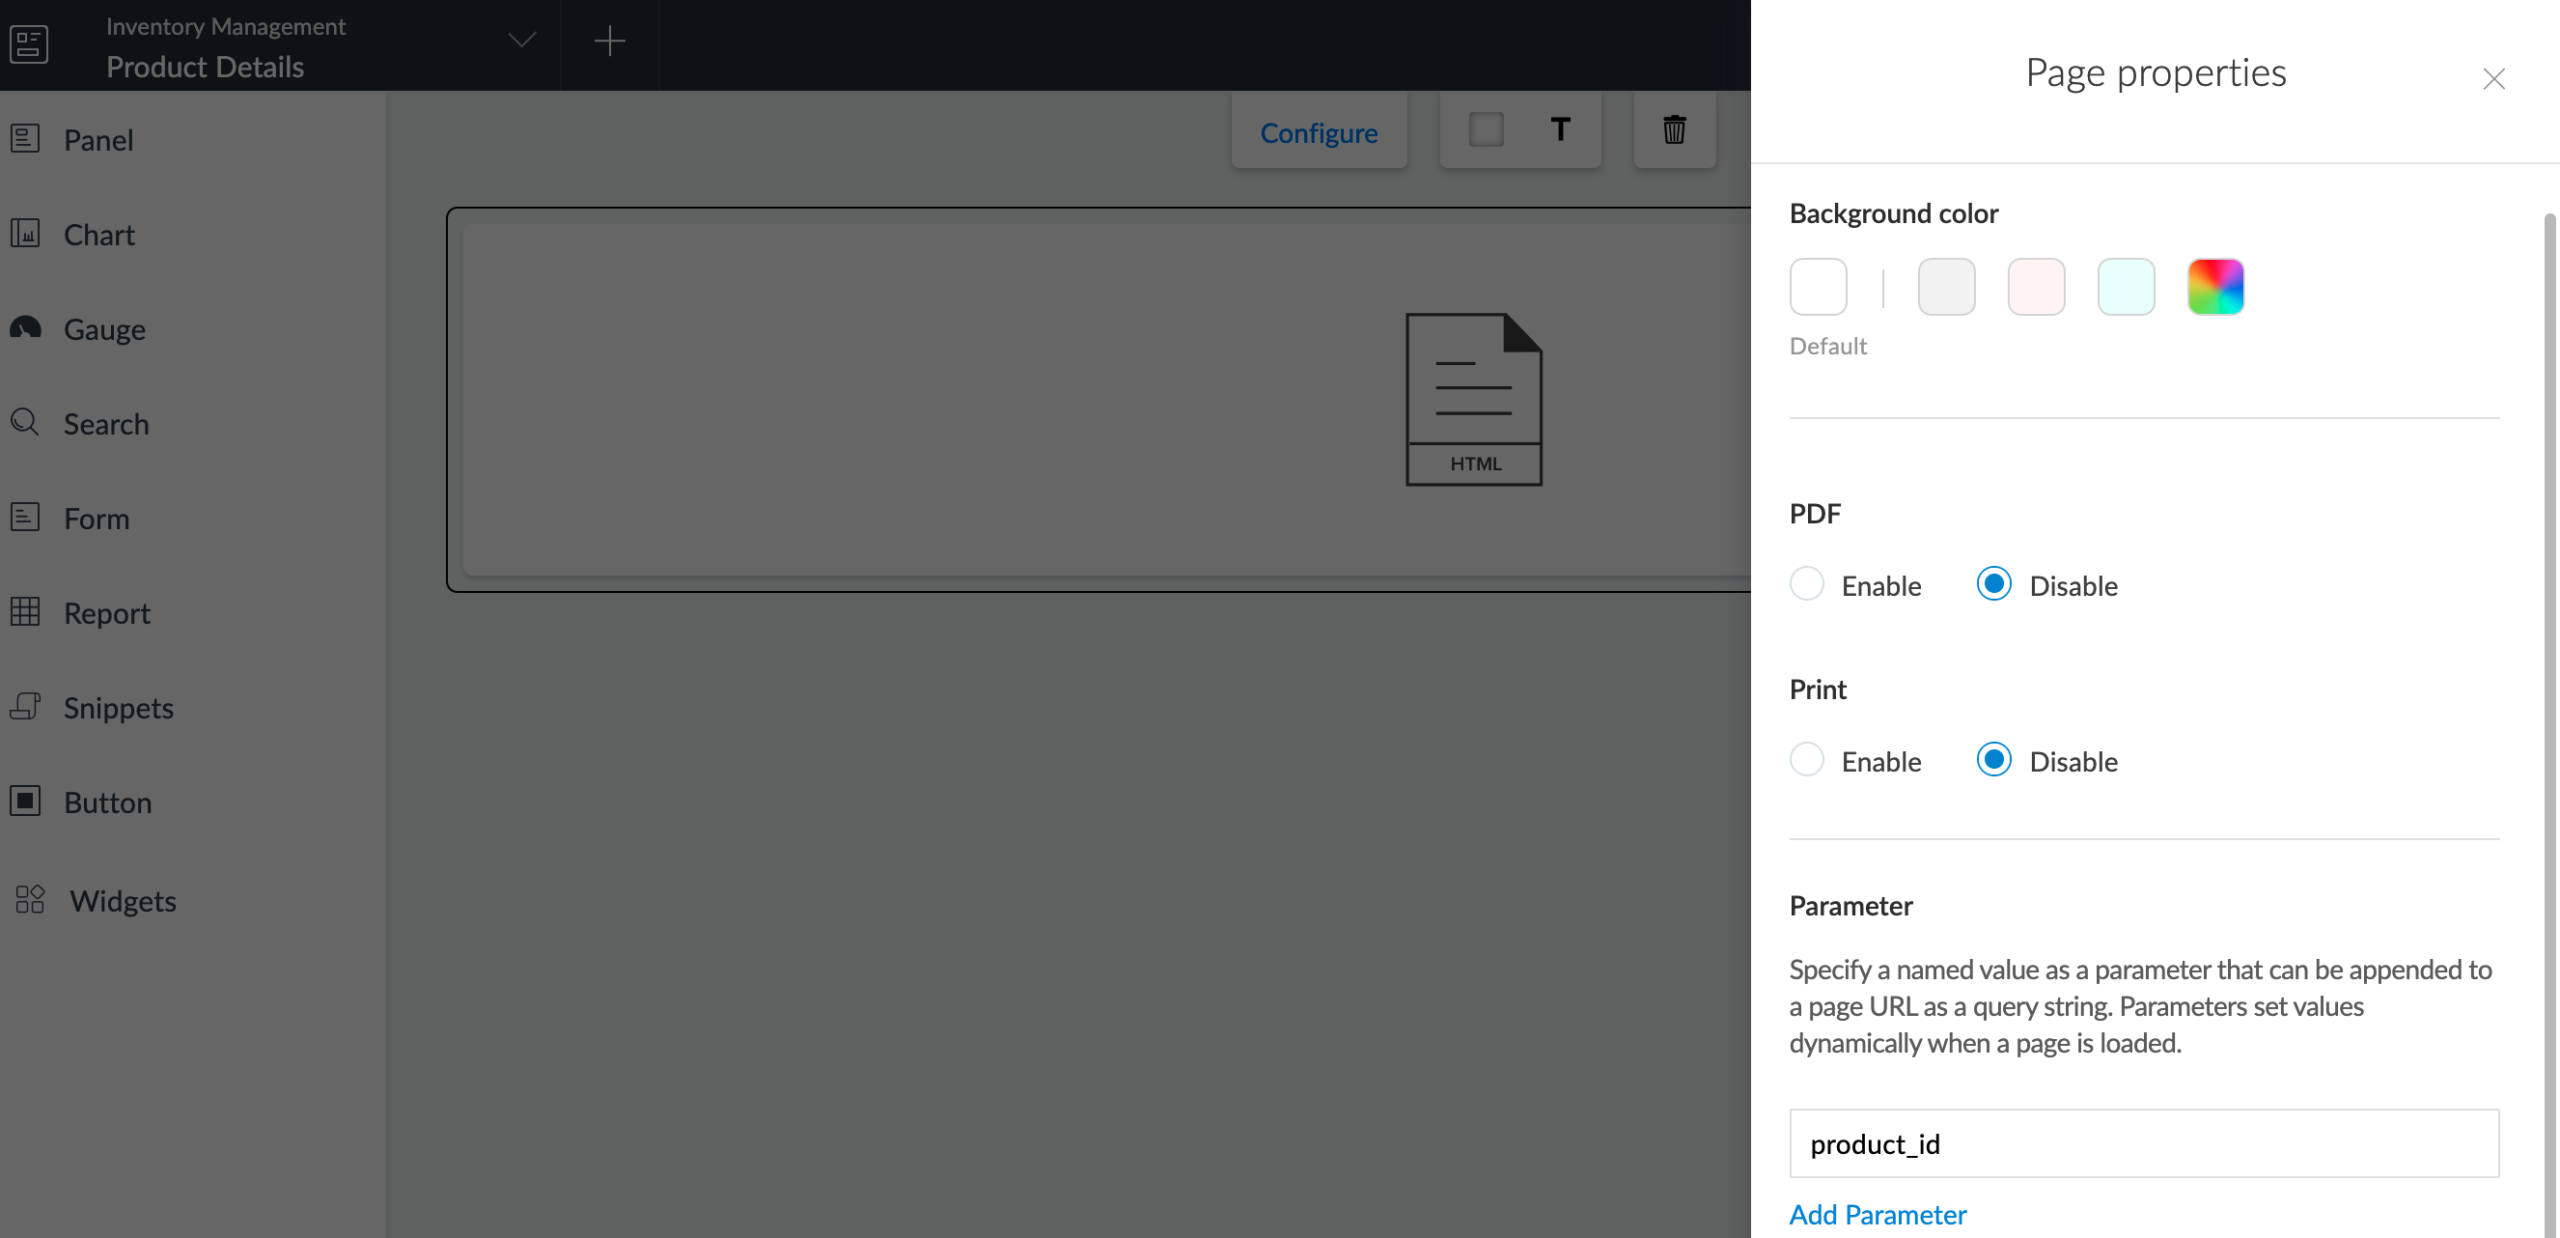
In the HTML Snippet First, let's fetch the product data based on the Product id argument passed to the page.
<%{
fet = Products[ID == input.product_id.toLong()];
ImageURL = fet.Image.getPrefix(" lowqual");
Imagename = fet.Image.getsuffix("/image/").getPrefix("\"");
ImageURL = ImageURL.replaceAll("/sharedBy/appLinkName/","/file" + zoho.appuri);
ImageURL = ImageURL.replaceAll("viewLinkName/","Products_Report/" + input.product_id.toLong() + "/");
ImageURL = ImageURL.replaceAll("fieldName/image/","Image/image-download?filepath=");
ImageURL = ImageURL.replaceAll("<img ","<img width=200 ");
%>
<link href="https://cdn.jsdelivr.net/npm/[email protected]/dist/css/bootstrap.min.css" rel="stylesheet" integrity="sha384-gH2yIJqKdNHPEq0n4Mqa/HGKIhSkIHeL5AyhkYV8i59U5AR6csBvApHHNl/vI1Bx" crossorigin="anonymous">
<div style="text-align:center;"> <%=ImageURL%> </div>
<table style="text-align:center;width:50%;margin-left:auto;margin-right:auto;">
<tr>
<td style="text-align:center;color:Tomato;"><b>Product Name:</td>
<td style="text-align:left"><%=fet.Product%></td>
</tr>
</table>
<%
}%>Now, upon clicking "View product" button against each product in the list report it will display the dynamic page with details corresponding to every record.
